
This guide is ported over from my original guide here.
Setting up a CTFd instance
This guide will teach you how to set up a CTFd instance using Docker and Docker Compose.
Pre-requisites
- Basic knowledge of Docker and Docker Compose
- A cloud platform that supports Docker and Docker Compose (e.g. DigitalOcean, AWS, GCP, etc.)
- Knowledge of how to use a command line interface (CLI)
- Ability to use
sshandscp - Money (or cloud platform credits)
Step 1: Set up a server
The first step is to set up a server to host the actual CTFd instance. This can be done on any cloud platform that supports Docker and Docker Compose. For this guide, I will be using DigitalOcean.
If you are using a different cloud platform, the exact steps to set up a server will not be covered. However, after accessing the server through ssh, you can continue with the rest of the guide from here.
DigitalOcean Setup
If you do not already have an account with DigitalOcean, try to find a promotional registration link to get free credits. This guide does not offer any referral links, so you will have to find one on your own. GitHub Student Developer Pack members can also get $200 in credits for one year.
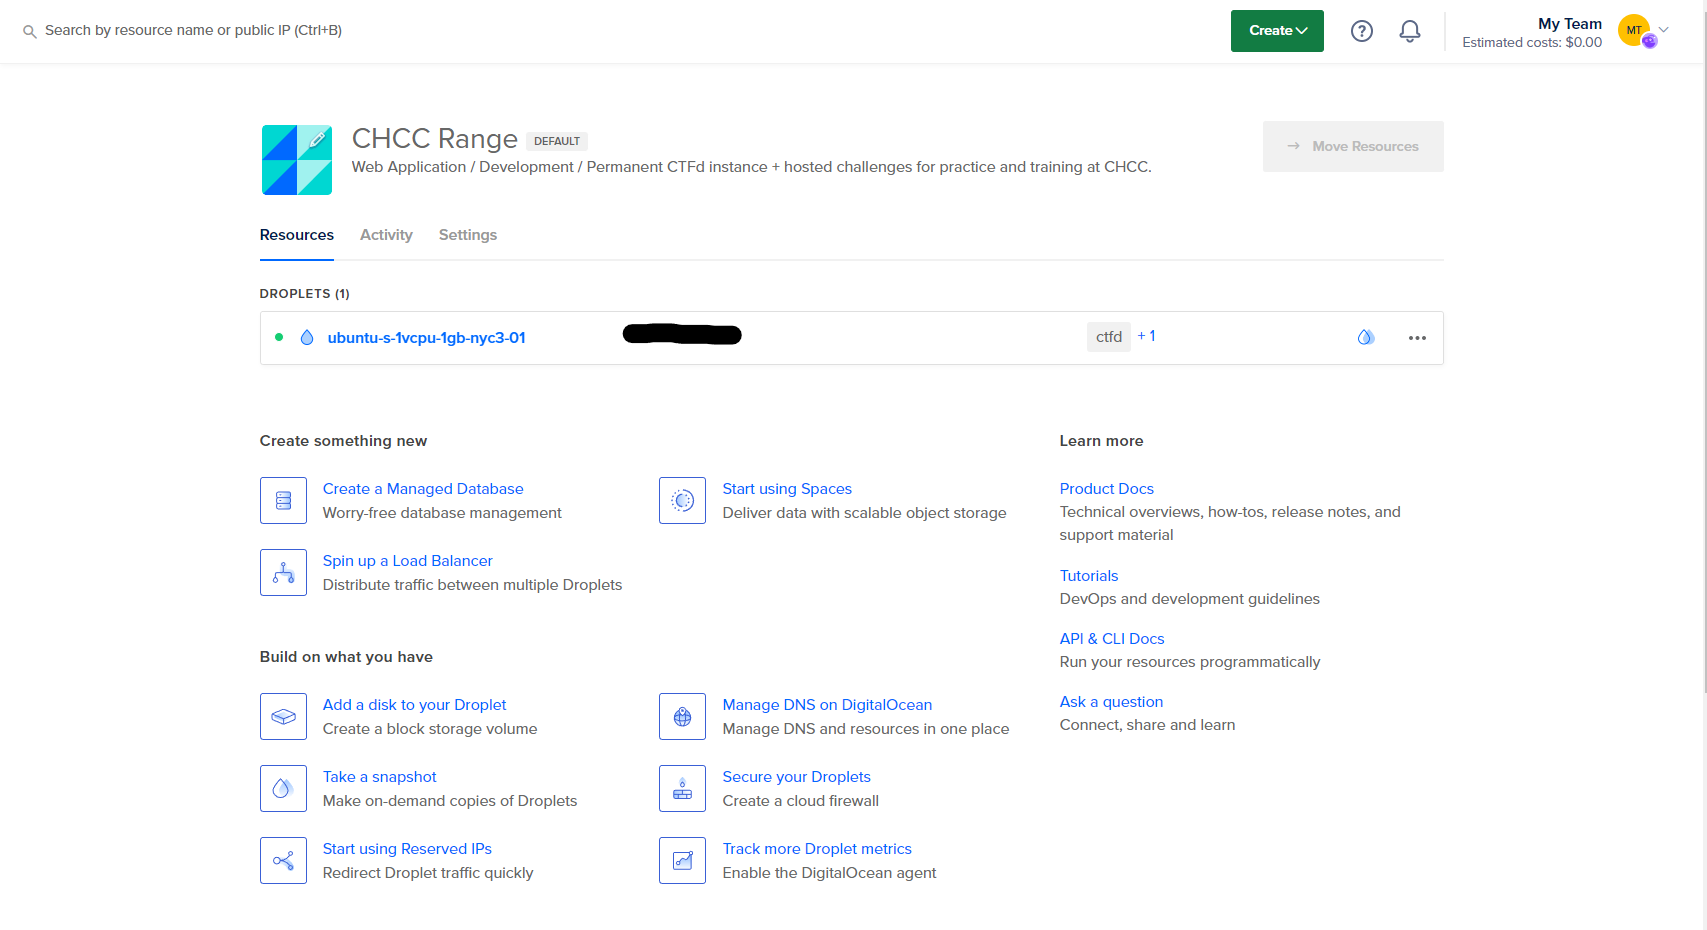
After you are logged in, you should be greeted with a screen that looks like this:
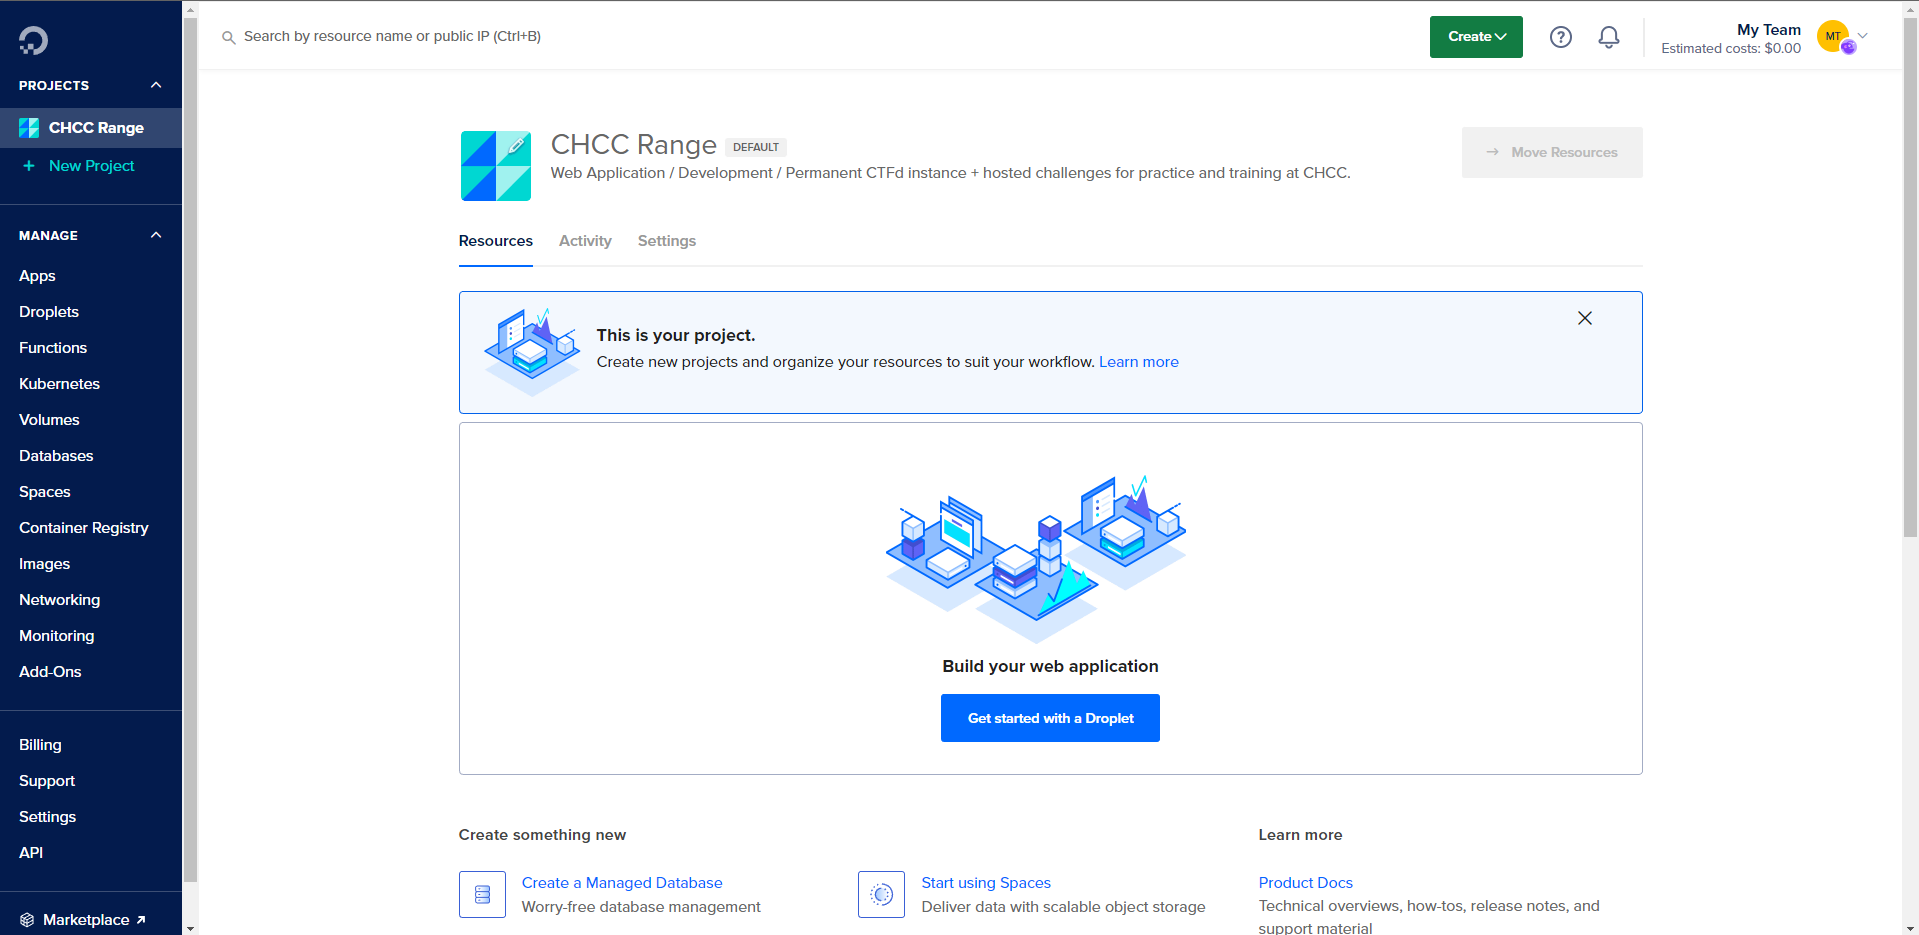
Navigate to the Droplet tab on the left sidebar and click on the Create button.
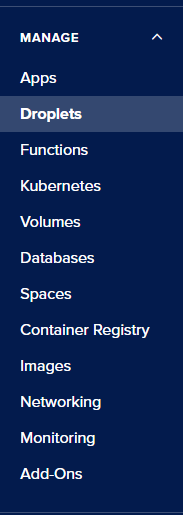
You should see the Droplet creation page.
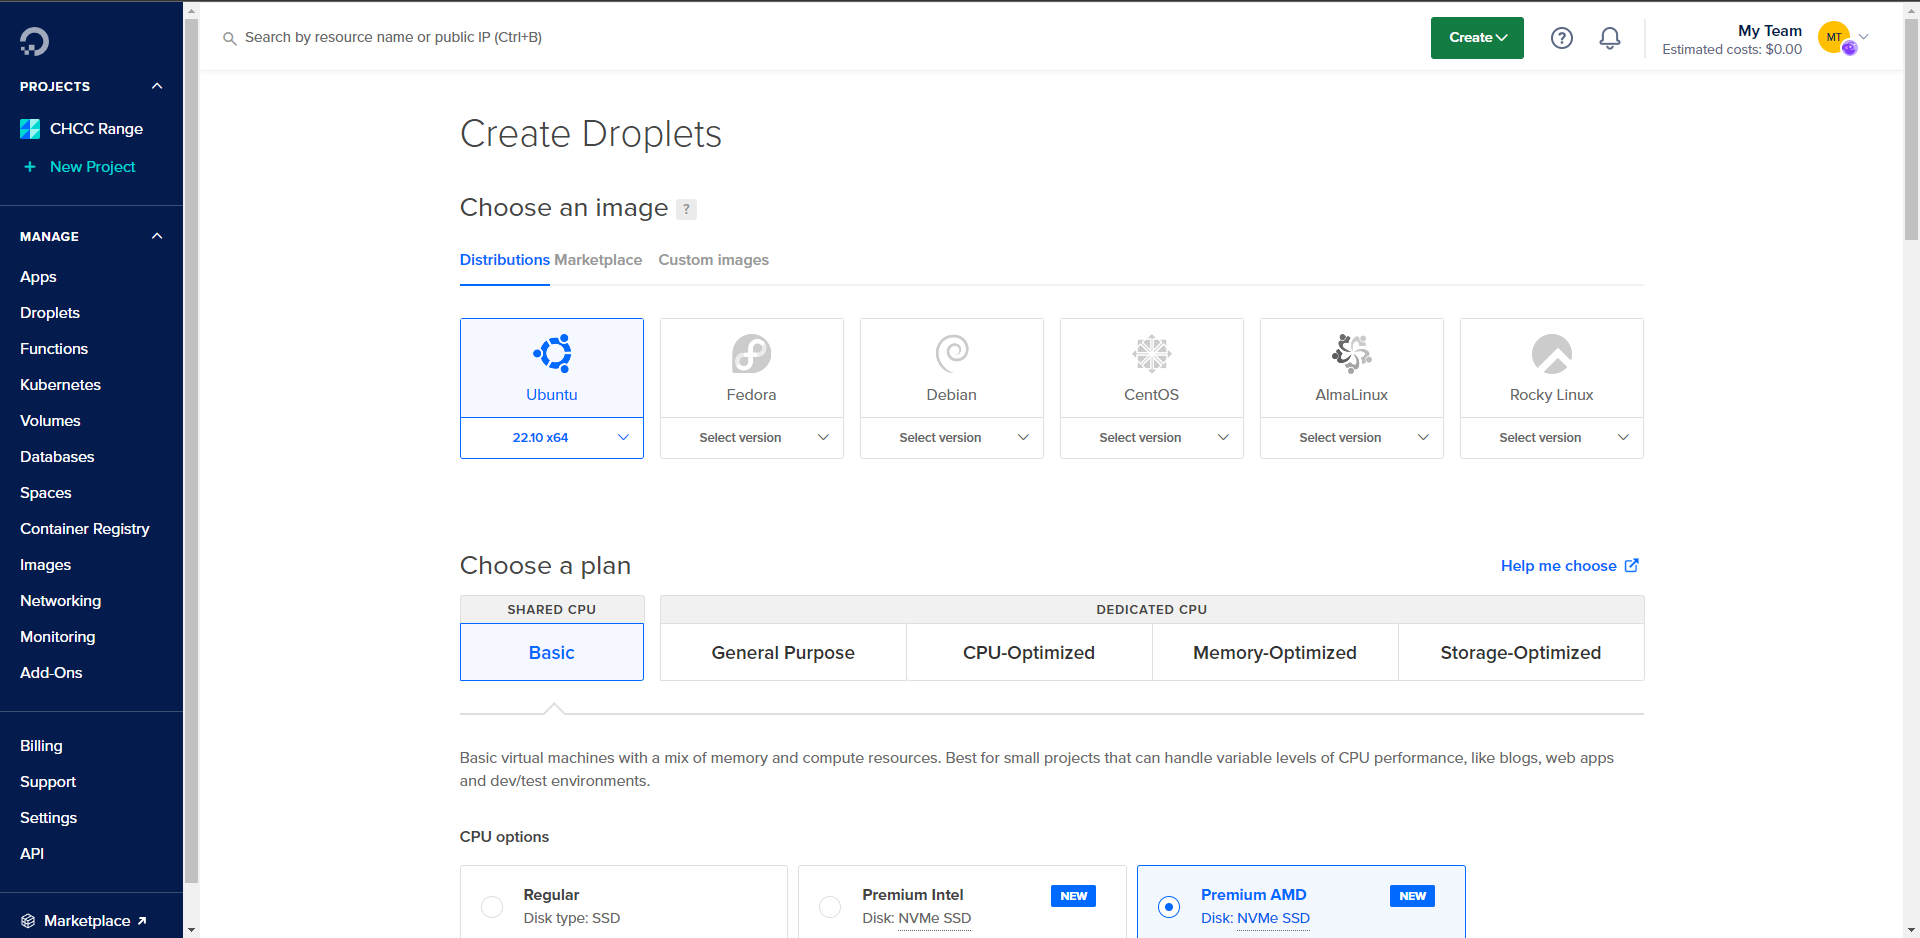
Droplet Settings
For this guide, we will be using the following settings:
Note: These settings may have changed by the time you read this guide, try to follow along as best as possible
- Ubuntu 22.10 x64
- Basic Plan
- Regular CPU / SSD
- $6/mo (You can use a smaller plan if you want to save money)
- 1 GB / 1 CPU
- 25 GB SSD
- 1000 GB Transfer
Choose a datacenter region that is closest to you. This will reduce latency and improve performance. You can test latency using this website.
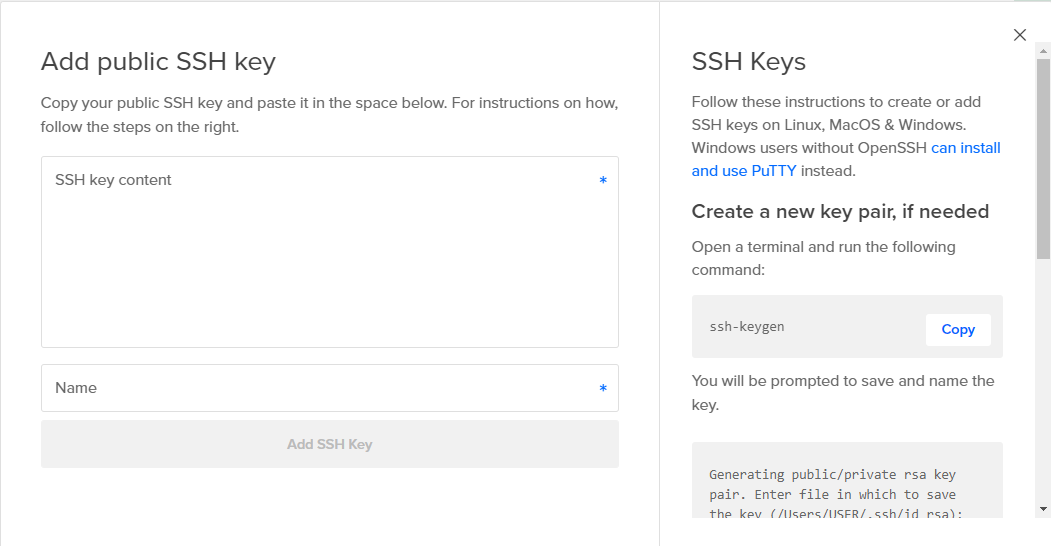
SSH Keys
If you do not already have a keypair, create a new SSH key. Follow the instructions on the page, and make sure to save the private key. You will need it later.
You can enable monitoring, IPv6, and User data if you want, they are not required for this guide.
After selecting these settings, click on the Create Droplet button. You should be redirected back to your project dashboard. Click on the Droplet you just created after it is done loading.
Step 2: Clone the CTFd repository
At this point, you should have a cloud server that you can access. ssh into the server as root using the private key you saved earlier.
ssh -i /path/to/private/key root@<server_ip>You should now be in the server. Install Docker and Docker Compose using the following commands: (From the official Docker documentation)
sudo apt-get updatesudo apt-get install \ ca-certificates \ curl \ gnupg \ lsb-releasesudo mkdir -p /etc/apt/keyringscurl -fsSL https://download.docker.com/linux/ubuntu/gpg | sudo gpg --dearmor -o /etc/apt/keyrings/docker.gpgecho \ "deb [arch=$(dpkg --print-architecture) signed-by=/etc/apt/keyrings/docker.gpg] https://download.docker.com/linux/ubuntu \ $(lsb_release -cs) stable" | sudo tee /etc/apt/sources.list.d/docker.list > /dev/nullsudo apt-get updatesudo apt-get install docker-ce docker-ce-cli containerd.io docker-compose-pluginWe will be working in /app for this guide. Create the directory and change into it.
mkdir /appcd /appAfter Docker and Docker Compose are installed, clone the CTFd repository using the following command:
git clone https://github.com/CTFd/CTFd.gitcd CTFd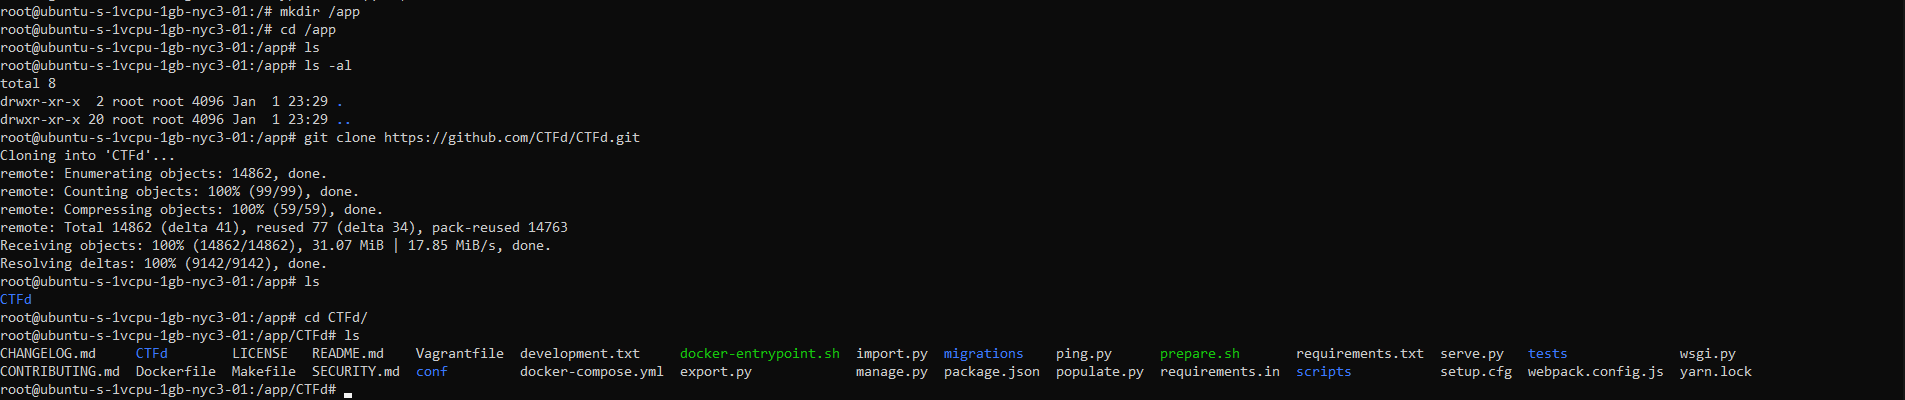
Step 3: Configure the CTFd instance
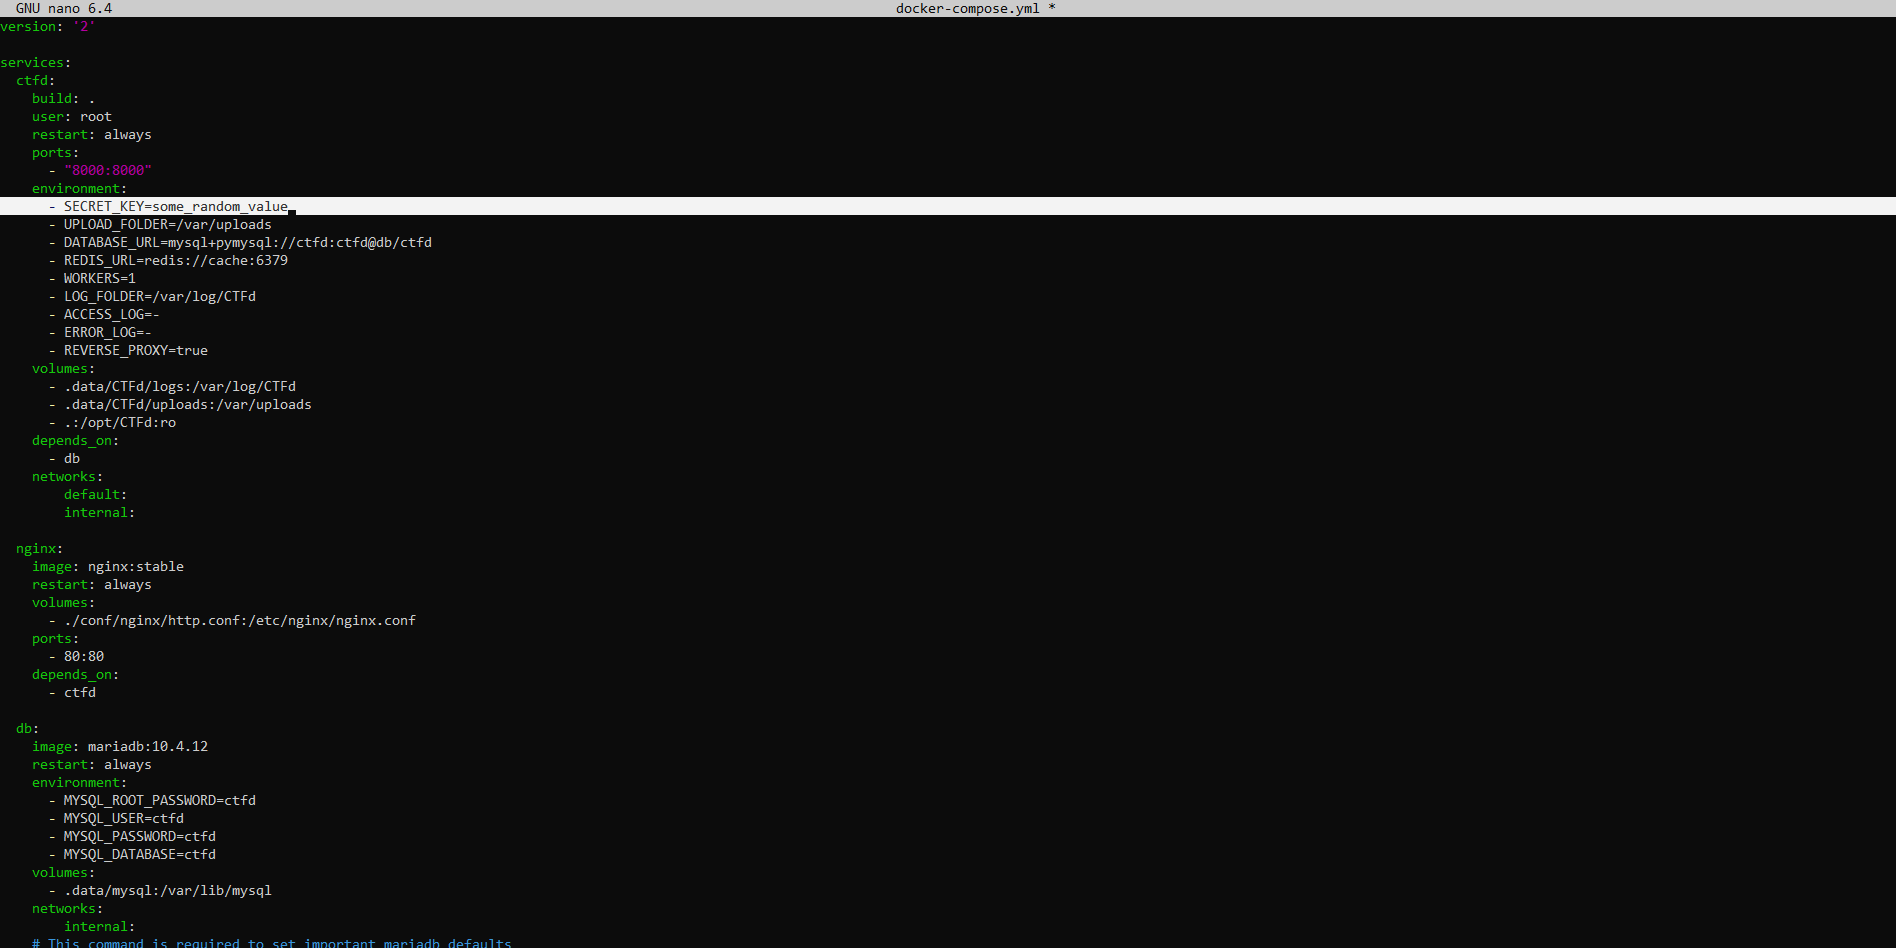
Now that we have the CTFd repository cloned, we need to configure the CTFd instance. This can be done by editing the docker-compose.yml file. Open the file using your favorite text editor.
nano docker-compose.ymlModify the SECRET_KEY to a random, secret string.
Now build the images and run the containers. This might take a while.
docker compose up -d --build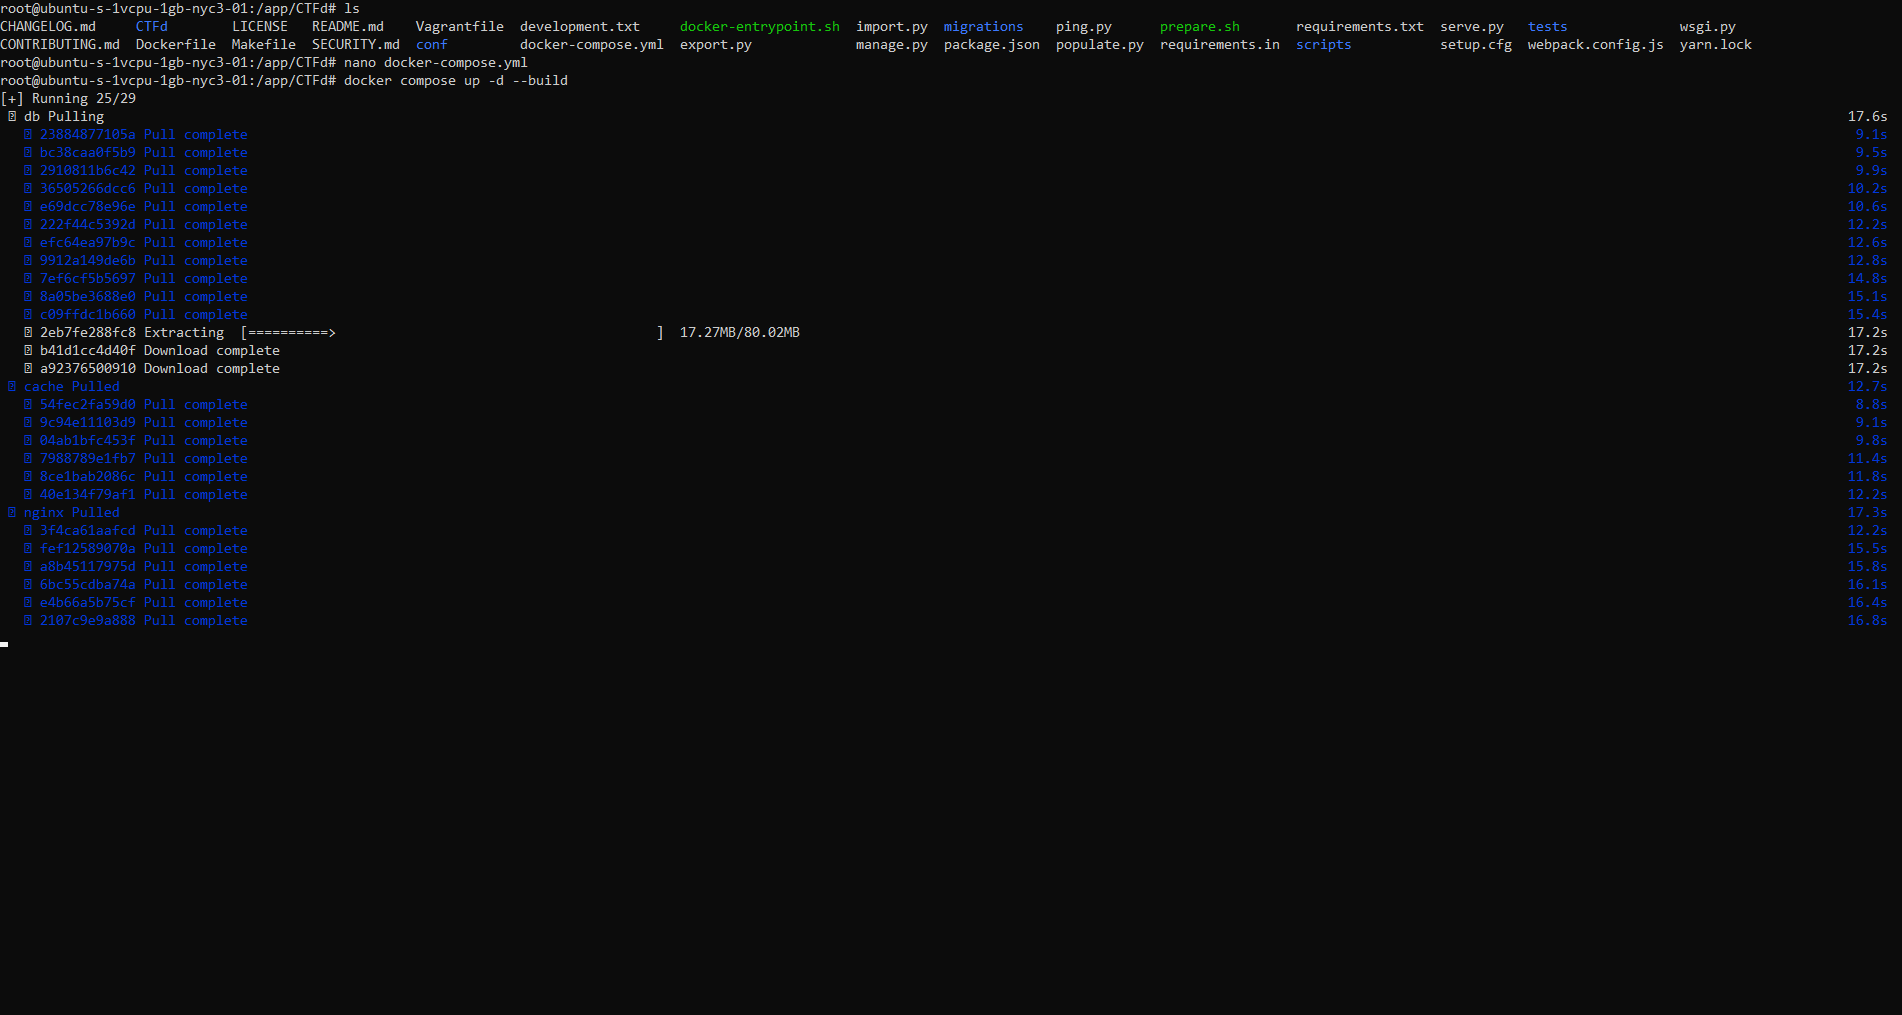
When all is said and done, you should be able to access the CTFd instance at http://<server_ip>:80. You can also access the admin panel at http://<server_ip>:80/admin.
To check that your CTFd instance is running, run the following command, and you should see all 4 containers running.
docker ps
Access your CTFd instance at http://<server_ip>:80. You should see a setup page. Fill out the form (everything can be edited later).
Step 4: Done!
Now that you have a CTFd instance running, there a few things to do before fully launching the CTF.
- Set up SSL/TLS (Requires a domain name)
- Configure email
- Set up challenges
But for now, you have a working CTFd instance. Congratulations!
Step 5: Bonus: Setting up individual challenges
If you want a quick and lazy hack to set up small challenges on the same server as the CTFd instance, this section is for you!
Note that this is not recommended at all for any challenge that will experience major load or access during the contest. Use this ONLY for challenges you are sure will not impact the performance of the CTFd instance in any way.
Step 5.1: Create a new challenge
Create any challenge either locally or on the cloud server with the CTFd instance. When you are ready, bring all the files to their own directory on the server. For this guide, we will be using the /app/chal directory.
mkdir /app/chalcd /app/chalscp -r /path/to/challenge/files root@<server_ip>:/app/chalStep 5.2: Create a Dockerfile
Now create a Dockerfile and Docker Compose file for the challenge. If you aren’t too familiar, here’s a basic example:
Dockerfile
FROM ubuntu:20.04
RUN apt-get update && apt-get install -y python3 python3-pip socatCOPY . /app # contains server.py and flag.txtWORKDIR /app
RUN chmod 444 flag.txtENTRYPOINT ["socat", "-T60", "TCP-LISTEN:1337,reuseaddr,fork", "EXEC:'python3 server.py',pty,stderr,echo=0"]docker-compose.yml
version: '2'
services: challenge: container_name: challenge build: . ports: - "1337:1337"You can edit these to your liking, just make sure that you don’t impact the CTFd instance somehow.
Step 5.3: Build and run the challenge
Finally you can just run the challenge using Docker Compose.
docker-compose up -d --buildDepending on what type of challenge you are running, how you access the challenge may differ. However, because of how DigitalOcean works, you don’t need to
worry about the port or firewall, and can just directly access the challenge with nc or some other tool.
Finally, please remember that this is not the recommended way to set up challenges. If you want to set up challenges properly, please refer to kCTF and their wonderful guides. Of course, kCTF does require a bit more understanding and time to learn, but it is well worth it, especially if you are hosting a larger CTF.
Thank you for reading to the end of this guide. If you have any questions or comments, feel free to email me at flocto@duck.com